
Colored Matte DIY
I found this idea while browsing Pinterest one day (the way most ideas are found), and I've wanted to try my own DIY version ever since. My apartment has wonderfully high ceilings, which is amazing for making the space seem larger and brighter. But, without anything hanging up, that means there are massive stretches of empty wall staring at me every day. I bought three of these frames last summer for my living room and filled them with a beautiful patterned wrapping paper, but the colors didn't go with what I have in mind for my new space, so I decided to try DIYing some colored mattes for artwork. I actually did this project a week or two ago, but it wasn't until recently that I managed to remember to buy command strips to hang them up. Woops!
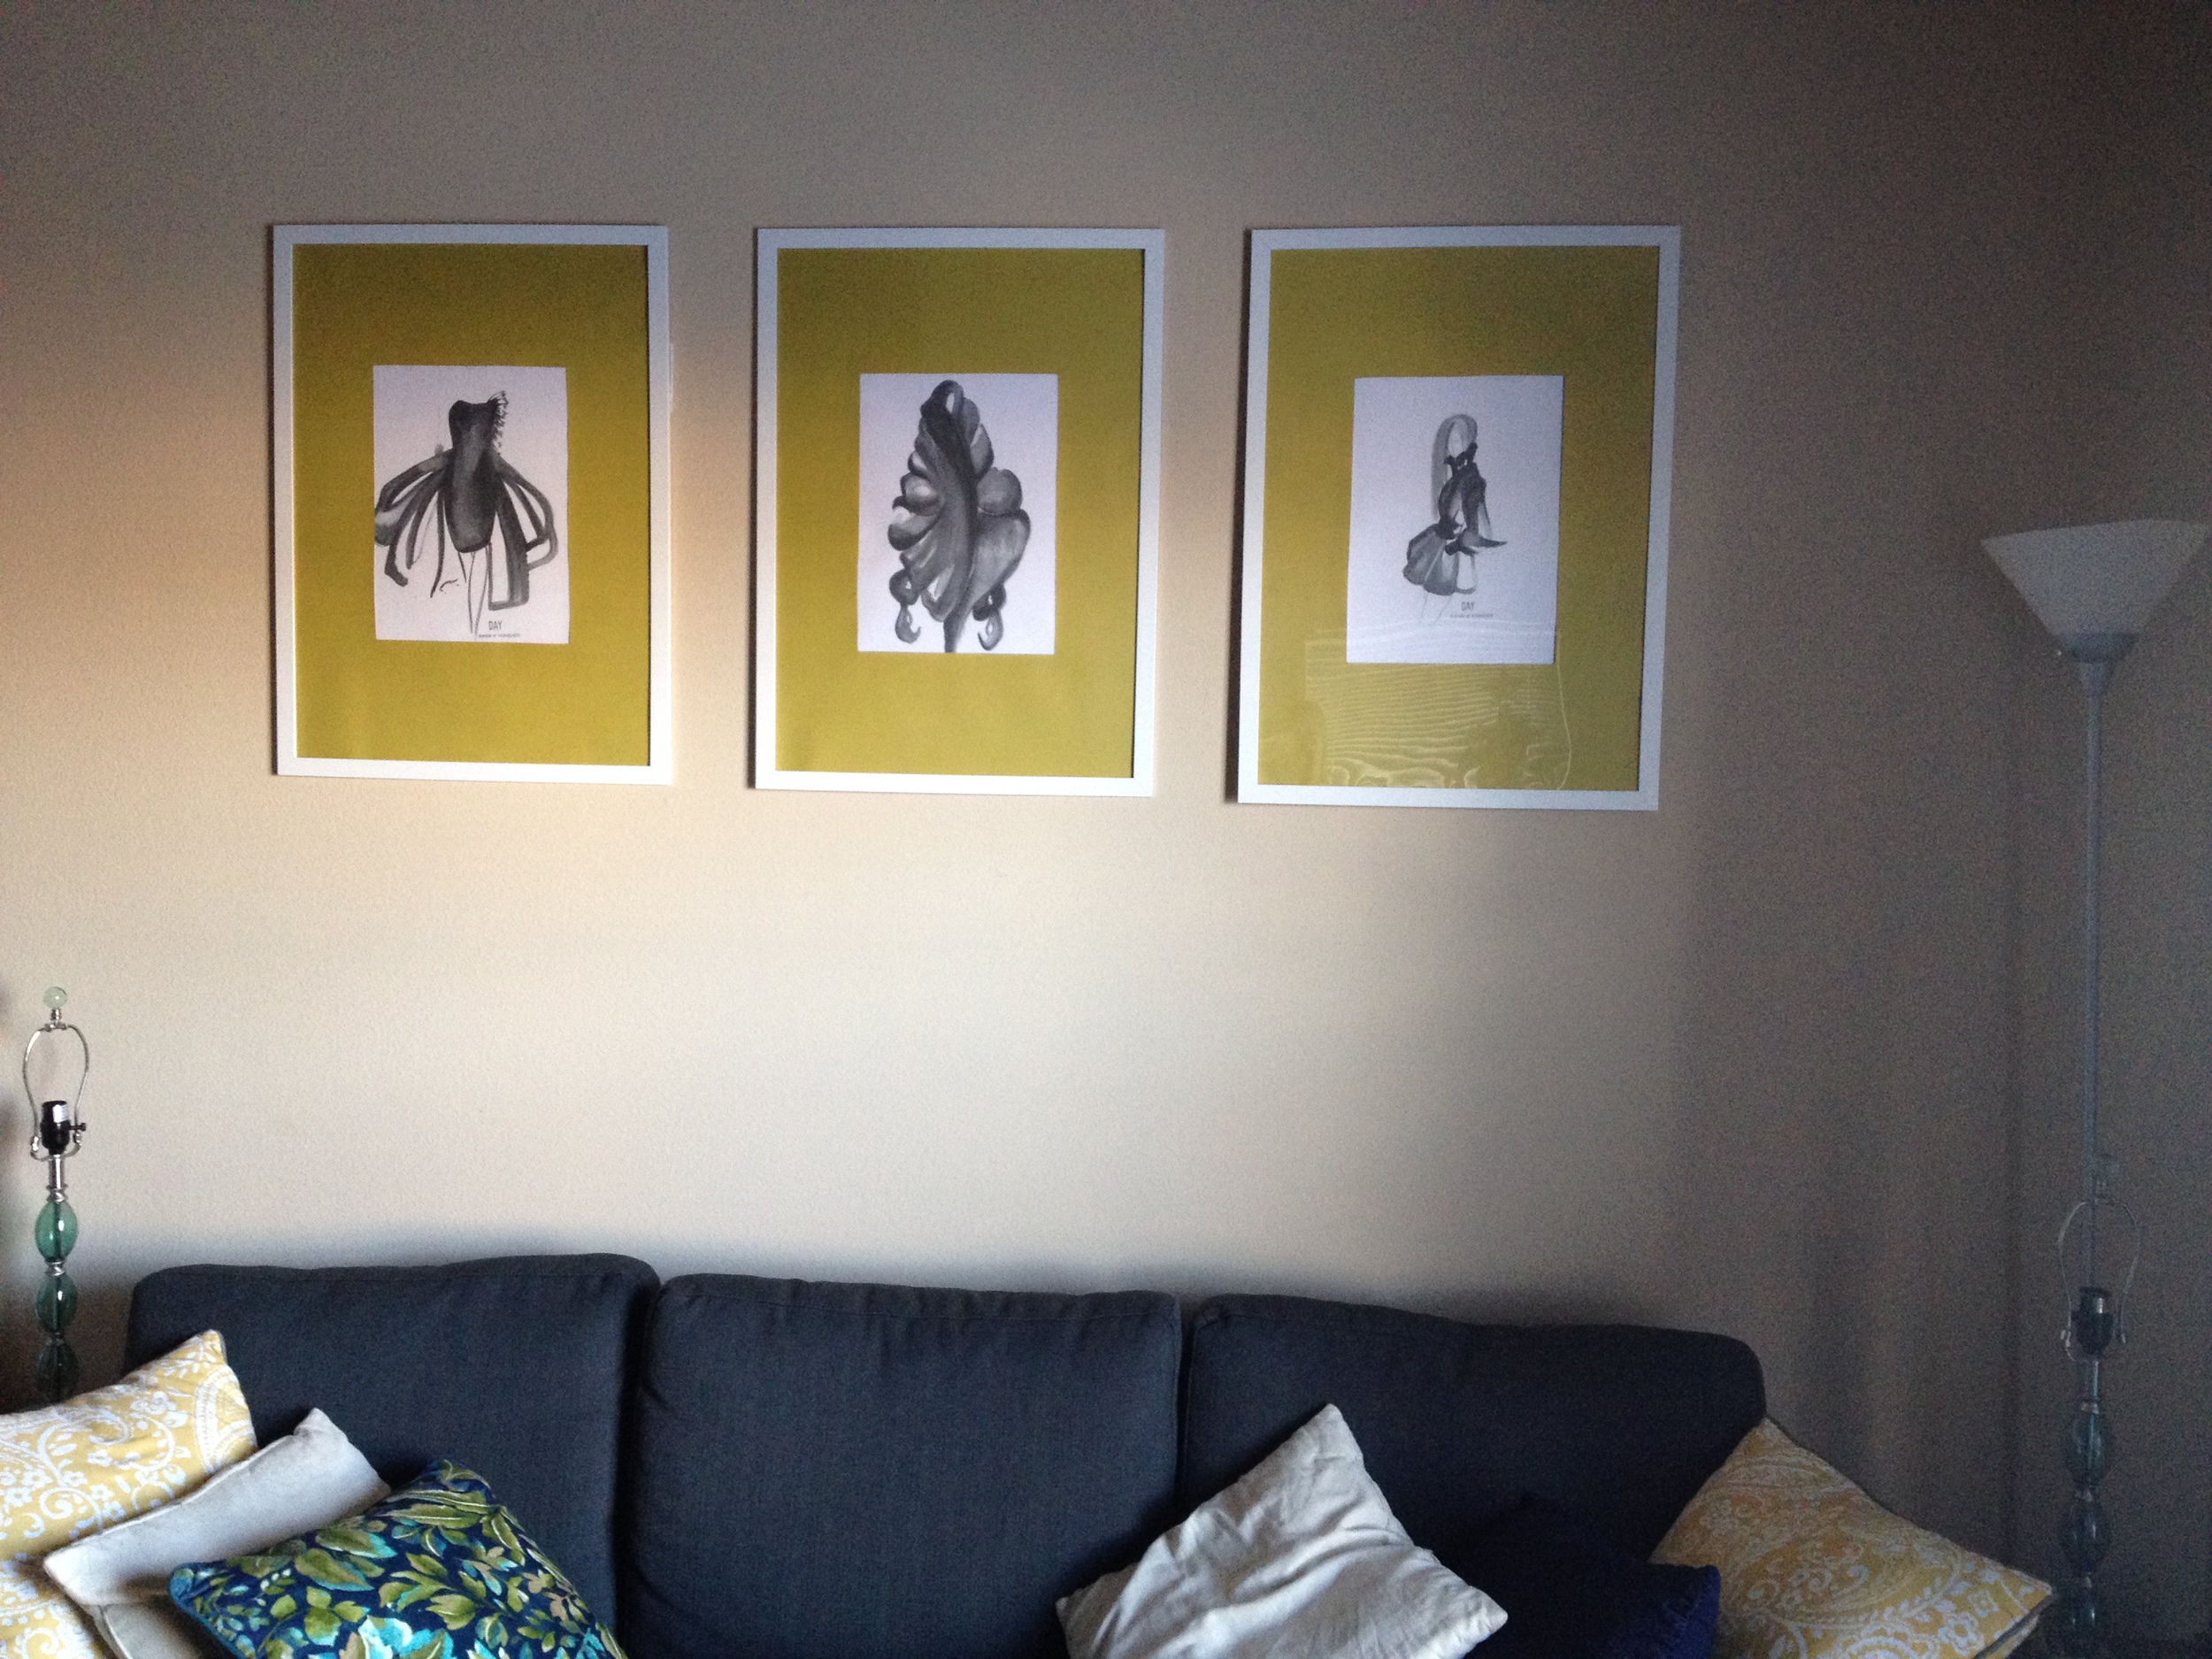
With some art finally up on the walls, my living room is a little closer to being completed! Ignore the shade-less lamps and the mismatched pillows...like I said, almost done. If you're interested in making some of these for your space, read on! I'll tell you everything you need to know about making your own (inexpensive) colored mattes.
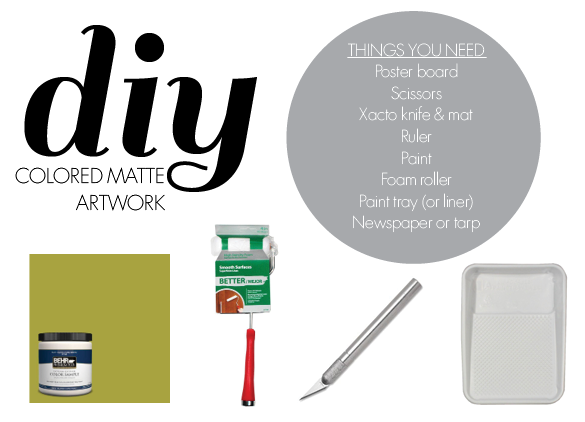
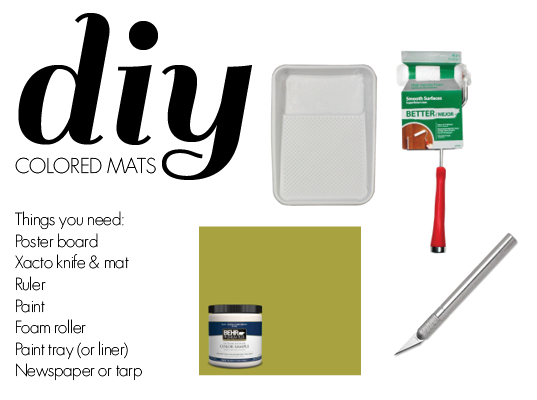
Aside from that list, you'll also need frames and artwork, but that's a given. I got my frames from Ikea and found the sketches online (aren't they awesome?). To save some money, I used poster board instead of buying matte board—I got a pack of 10 for $3 at Hobby Lobby. You can save a step in the process by buying colored poster board, but I wanted a very specific color so I went with white.
I used scissors to trim the edges of the poster board to fit the frames, and then I measured the artwork to determine what size hole I would need. I measured the tallest and widest parts of each sketch, and used the largest of those measurements. This ensured that all the mattes would look uniform, while also making sure that no part of any of the sketches would get cut off. Cutting out the holes in each matte was a little tricky. To make sure they were centered, I took the width of the poster board, subtracted the width of the hole I wanted, and then divided that by two. This gave me the distance from the edge of the pister board to the hole. I then measured out that distance at several points on the poster board, and then used the ruler to connect the points with a straight line. I did this on both sides, and then again for the top and bottom. After I had all the lines drawn, I used an Xacto knife and mat to cut out the centers.
Next step: paint. Spray paint would be ideal for this, but again, I wanted a very specific color that wasn't available in a spray can. So instead, I chose the color swatch I wanted and got a $3 paint sample from Home Depot (and had plenty left over). To avoid brush strokes, I used a small foam roller and paint tray (I actually just used a paint tray liner, they're sturdy enough to be used alone, can be rinsed out and reused multiple times, and cost less than $1! Score).
I planned to do this out on my patio, but the wind kept blowing my papers around so I moved the party indoors. I keep a box full of the billion newspaper ads I get in the mail just for projects like this. I covered part of my living floor with several layers of the papers (at this point I had not yet gotten my dining room table) and got to work. It took several layers of paint to get a uniform look; you can kind of tell in the photo on the right (above) how splotchy it looked at first.

After letting them dry for a day, I positioned the prints, taped them to the mattes, and framed them. Tada! New colorful pieces to brighten up my walls. Let me know if you decide to try this, I'd love to see how yours turn out!